
Article fait par :Bertil Carpentier
Mis en ligne le

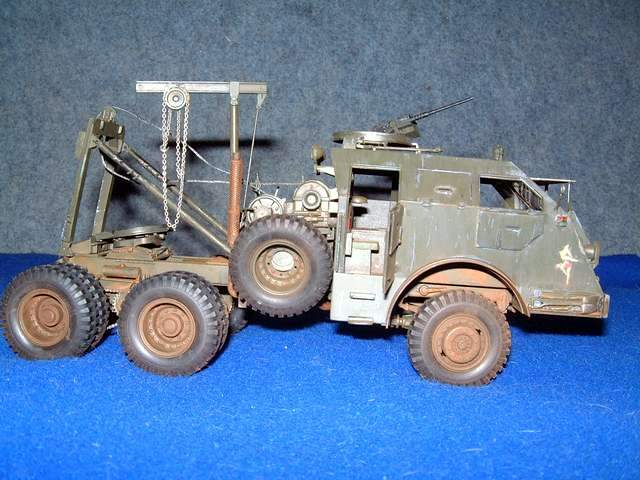
Le M26 ATRV (Tamiya Rf 224 ) Echelle 1/35°
Par Bertil Carpentier
English Version
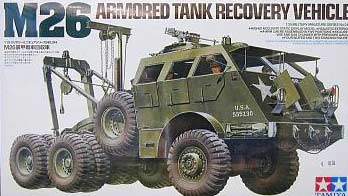
Cette maquette est une déclinaison de la boite M26 Dragon Wagon qui est sortie il y quelques années en arrière. Tamiya décline son modèle, afin de le rendre un peu plus accessible tout en restant relativement encore dispendieuse. C'est de bonne guerre et il faut le dire on prend toujours du plaisir lorsque on monte une maquette de la marque aux deux étoiles! Reste plus à Tamiya qu'à sortir le M26 A1 avec cabine tôlée et la famille sera complète.
Pour l historique vous pouvez vous reporter à un article sur Maqueltand.com
Cet article n'a pas la prétention de raconter le montage point par point du kit, vous êtes assez grands et le plan du fabriquant est très précis, mais il vise plutôt à vous informer de mon expérience de montage du M 26.Dès l'ouverture de la boîte, on se rend très vite compte que nous en avons pour notre argent! Cette maquette n'est pas donnée, sauf si on a la chance de l'acheter en Andorre (n'est ce pas Claude!) Le nombre de grappes est assez important; 9 au total, plus la cabine cela fait 10 grappes de plastique vert militaire. Six figurines sont incluses dans cette boite. Chaque grappe est enveloppée dans un sachet plastique. Nous avons droit à une planche de photo découpe; regroupant la grille de protection du pot d'échappement, les protections des tambours de treuil et deux marchepieds. Une bonne longueur de chaîne ainsi qu'une bobine de fil (représentant le câble des treuils) sont aussi incluses dans la boite. Les pneus sont en caoutchouc noir individualisés dans une boite à part. La notice d'explication est comme d habitude au standard que l'on peut attendre de la marque.
J'ai peint toutes les pièces du kit en Olive Drab (TS-5) Tamiya. Je travaille au pinceau car je ne possède pas de compresseur pour l'aérographe.
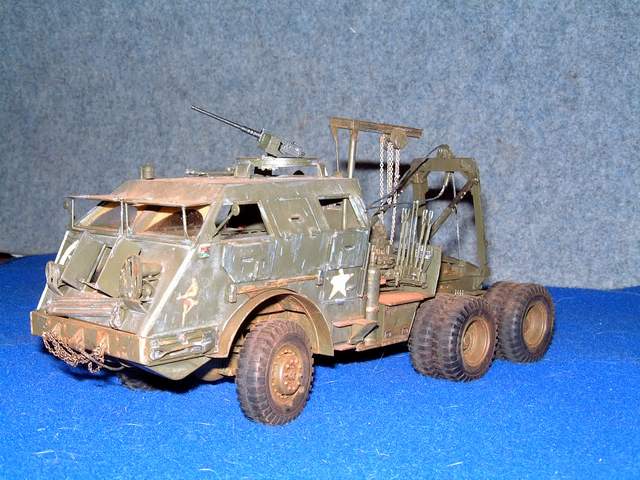
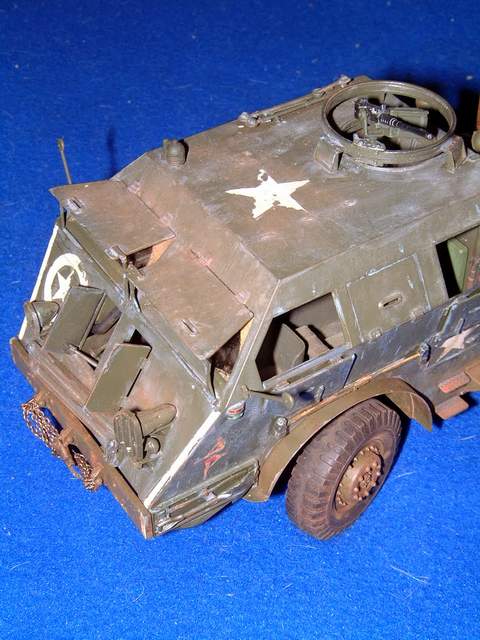
Je n'ai pas rencontré de difficulté majeure avant le montage (à blanc) de la cabine sur le châssis (étape n°16). Il m'était impossible de descendre la cabine à plus de la moitié! Après examen du problème, ce sont les pièces L 20 et L 21 qui ont besoin d'être légèrement meulées ainsi que la tablette du chef de bord (D 13 et D 26). Je positionnerai le carter de protection B 12 et les deux marchepieds en photo découpe(a 3) une fois la cabine entièrement patinée et collée sur le châssis ; un ou deux personnages étant installés dans la cabine.
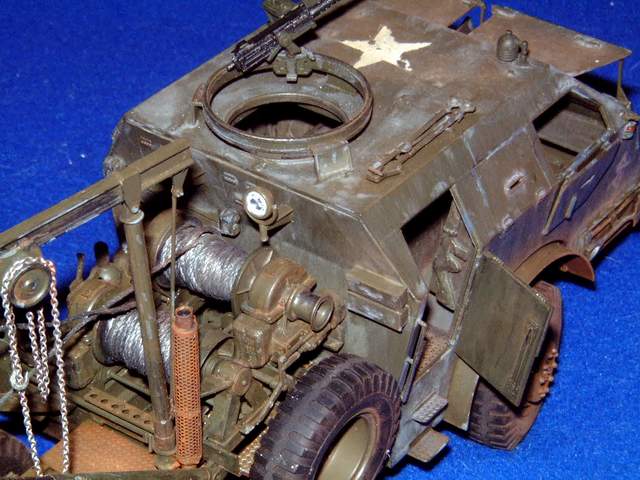
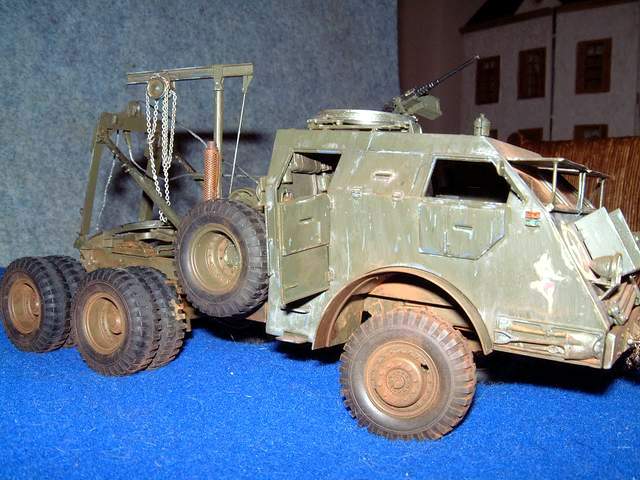
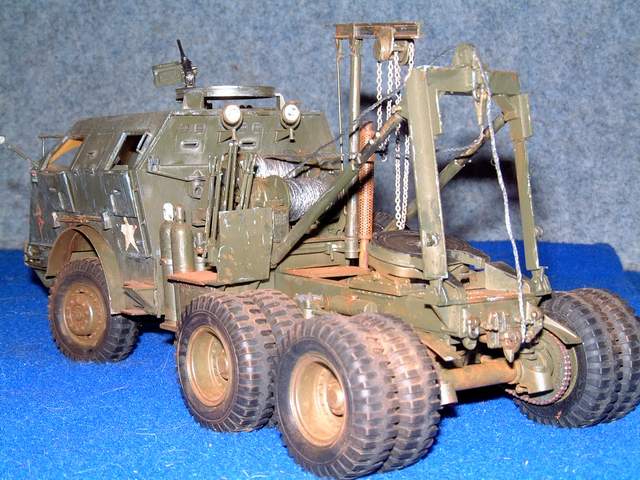
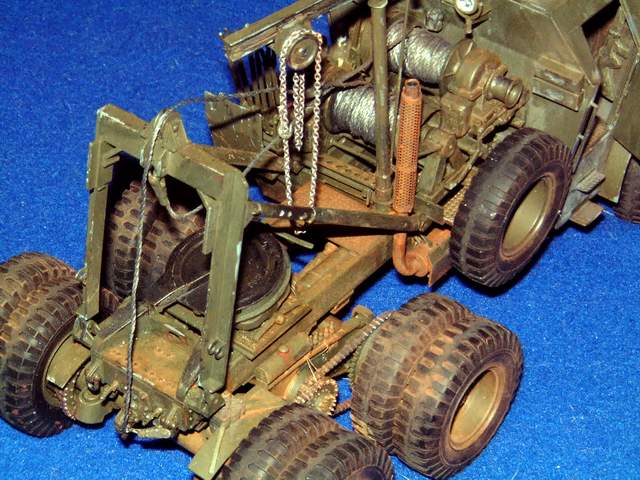
Etape 22 la difficulté est de bien ajuster la grille de protection autour du pot d'échappement en masquant, le plus possible, le joint de la photo découpe. Celle-ci est collée à la cyanolite et bloquée en position avec le fil de fer se trouvant dans la boite. La solution donnée par Tamiya ne m'a pas convaincu.Le montage du treuil ne pose pas de problème, attention toutefois au collage des différentes biellettes et pédales du treuil. Je n'avais pas encore les photos de l'engin réel au moment du montage. Vous référer à la documentation photo pour bien monter le mécanisme.
 |
 |
 |
Conclusion
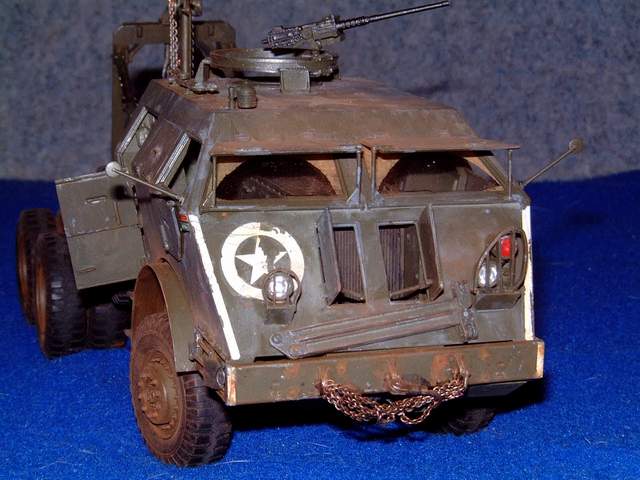
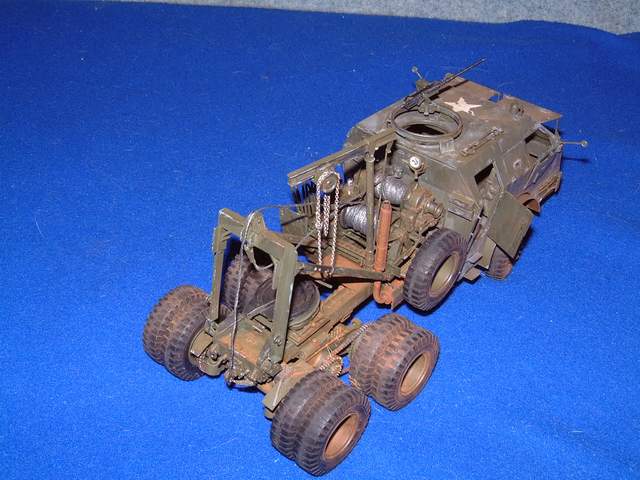
La maquette n'est pas tout à fait terminée, il ne reste quelques petits détails à peindre (feux arrières….) Le montage se fait dans la tranquillité et sans inquiétude, attention toutefois à l'ajustement de la cabine. C'est une imposante et magnifique maquette, très agréable à monter. Il ne me reste plus qu'à établir une scène pour un futur diorama
This model is a declination of the M26 Dragon Wagon which was released a few years ago. Tamiya declines this model, to make it a little more accessible while remaining relatively more expensive. It is good war and we must say it always takes pleasure when one goes up a model of the firm with two stars!
Still more Tamiya to leave the M26 A1 with ligth cabin and the family is complete.
For history you can refer to an article on Maqueltand.com
This article does not pretend to tell the assembly point by point of this kit
You have a very goode tamiya plane very precise, but rather to inform you of my experience mounting M 26.
At the opening of the box, you realize very quickly that we have for our money! This model is not given, unless we have the chance to buy in Andorra (hello my Claudius )
The number of clusters is quite important, 9 in total over 10 with the cabin
The cluster are in plastic green military. Six figures are included in this box. Each cluster is wrapped in a plastic bag. We have the right to a plank of photo-cutting; combining the grid protection of the exhaust pipe , the protections of the winch drums and two steps. A good length of chain and a coil of wire (representing the cable winches) are also included in the box.
The tires are rubber in a individual black box. The instruction is like explanation of the usual standard that can be expected fromTamiya
I painted all the pieces of kit in Olive Drab (TS-5) Tamiya. I work with a brush because I do not have to airbrush compressor.
I have not encountered major difficulties before mounting of the cabin on the chassis (Step No. 16). But before to stick try is all it is good
In my case it was impossible for me to get off the cab to more than half! After reviewing the problem, the parts L 20 and L 21 who need to be slightly ground and the tablet of the boat's captain (D 13 and D 26).
I position the cabin( B 12 ) and the twofootboard in photo edge (3) once the cabin entirely patina and affixed to the chassis .One or two soldiers s being installed in the cabin.
Step 22: the difficulty is to adjust the grid protection around the exhaust into hiding as much as possible, the photo edge seal . It is glued with cyanolite and secure a position with wire found in the box. I was not convinced by solution given by Tamiya.
The winch mounting is not a problem, however, be careful with the sticking of of different rods and pedals winch.
I did not even photos of the real trucks. You refer to the photo documentation in order to mount the mechanism.
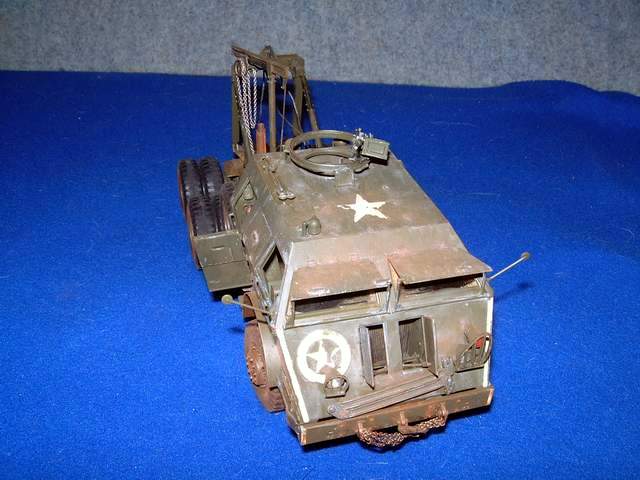
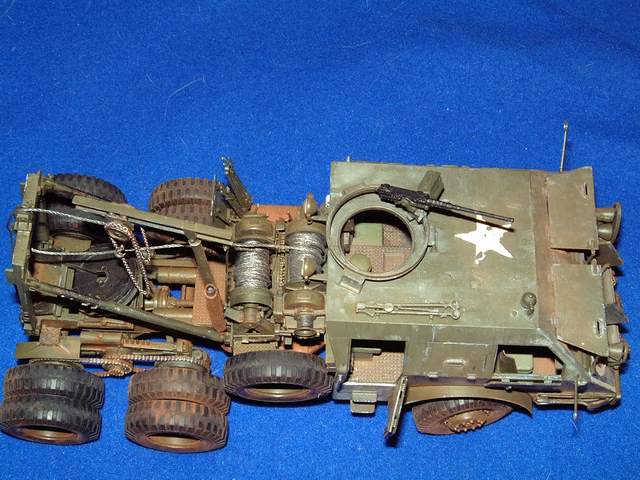
The mounting of this kit will end by sticking the two channels pulley system. Once installed, the M26 will receive decals chosen (unit unknown in March 1945 with the star on top and pin-up girl!)
For more information you can refer to various journals on the markings of equipment from the U.S. Army (Osprey among others). The M 26 will then receive its patina ... and below its mud ration made from bicarbonate of soda
The colors used are Humbrol (No. 33,62,9004, 56,29105,19,30), Tamiya (XF55, XF58, XF9, XF62, XF1, XF56, XF66, TS5) and Lifecolor (UA023, UA030, UA072, UA058) Differents ageing and dirt are applied with oil paintings (yellow ochre, a land of burnt sienna, land of sienna, black ivory), pastels (red-orange, black, gray and dark, light brown and dark, cream) and a pencil HB
.
Conclusion
The model is not quite complete, there remains some small details to paint (rear lights….) Installation is in peace and without worry, however, attention to the adjustment of the cabin. It is an impressive and beautiful model, very pleasant to climb. It only remains for me to establish a scene for a future diorama